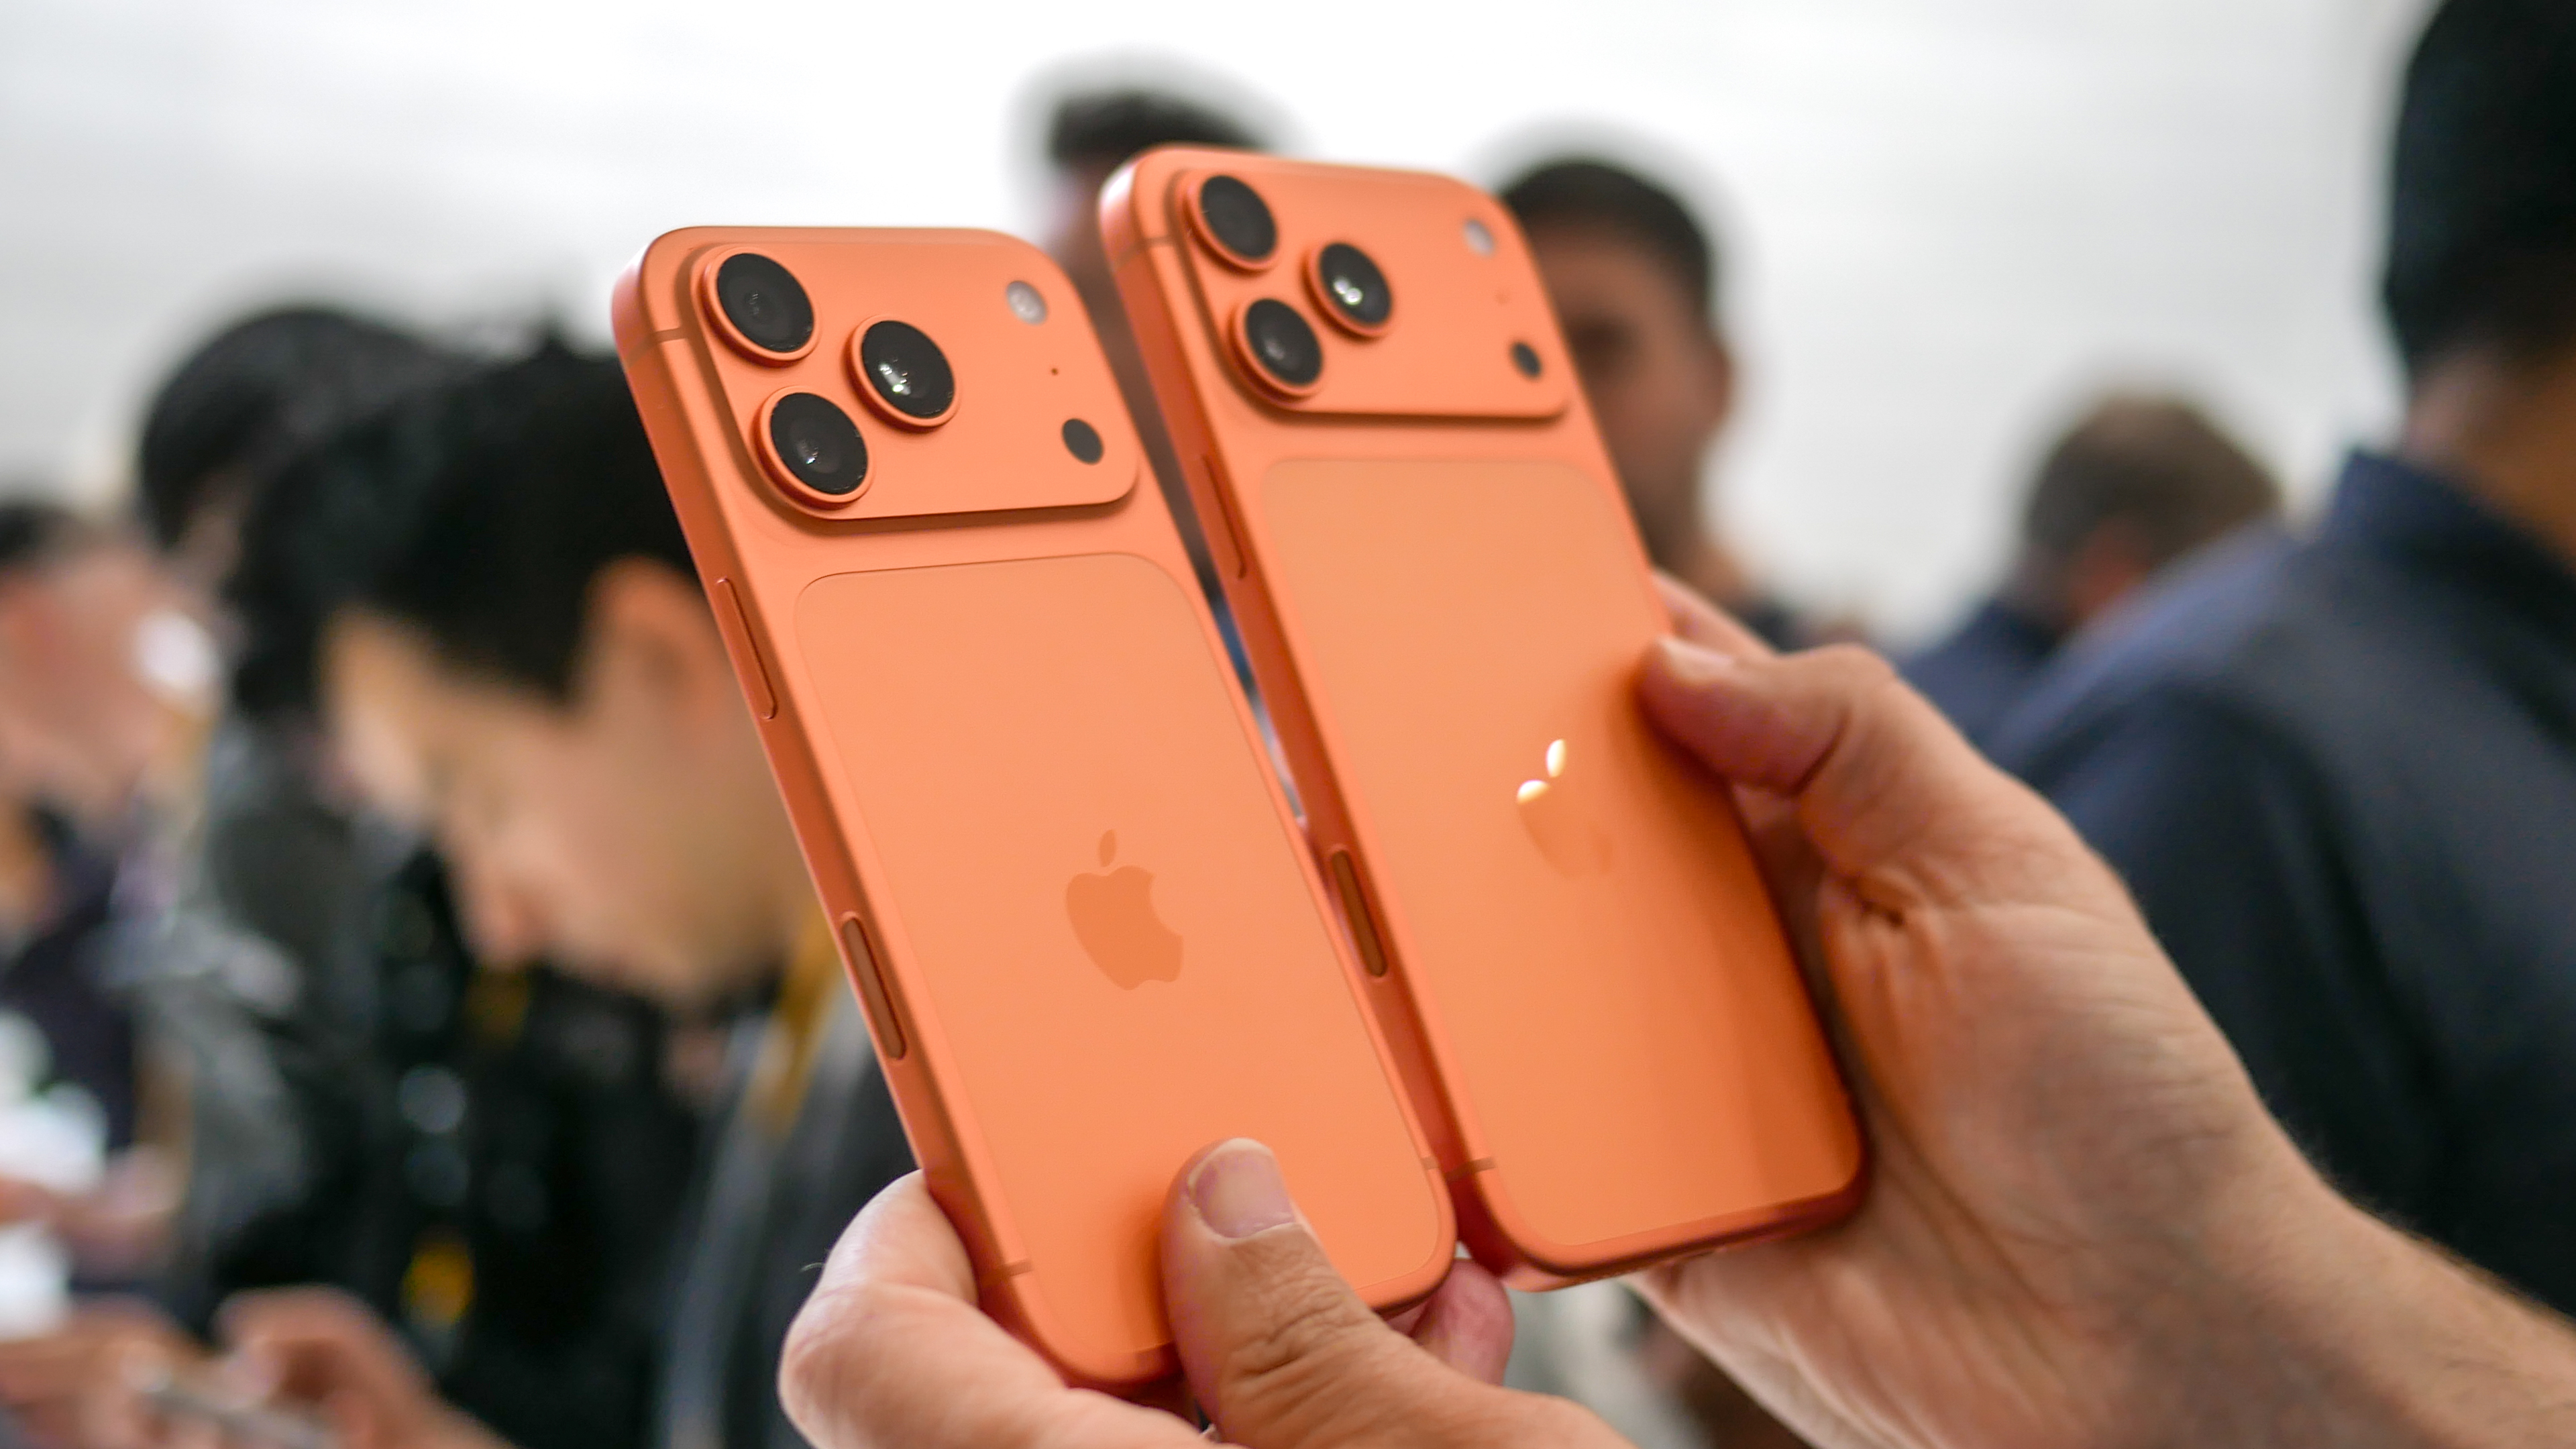
In May 2026, I ended up buying a refurbished Apple iPhone 17 Pro Max 256GB – Cosmic Orange – Unlocked for CAD $1549.
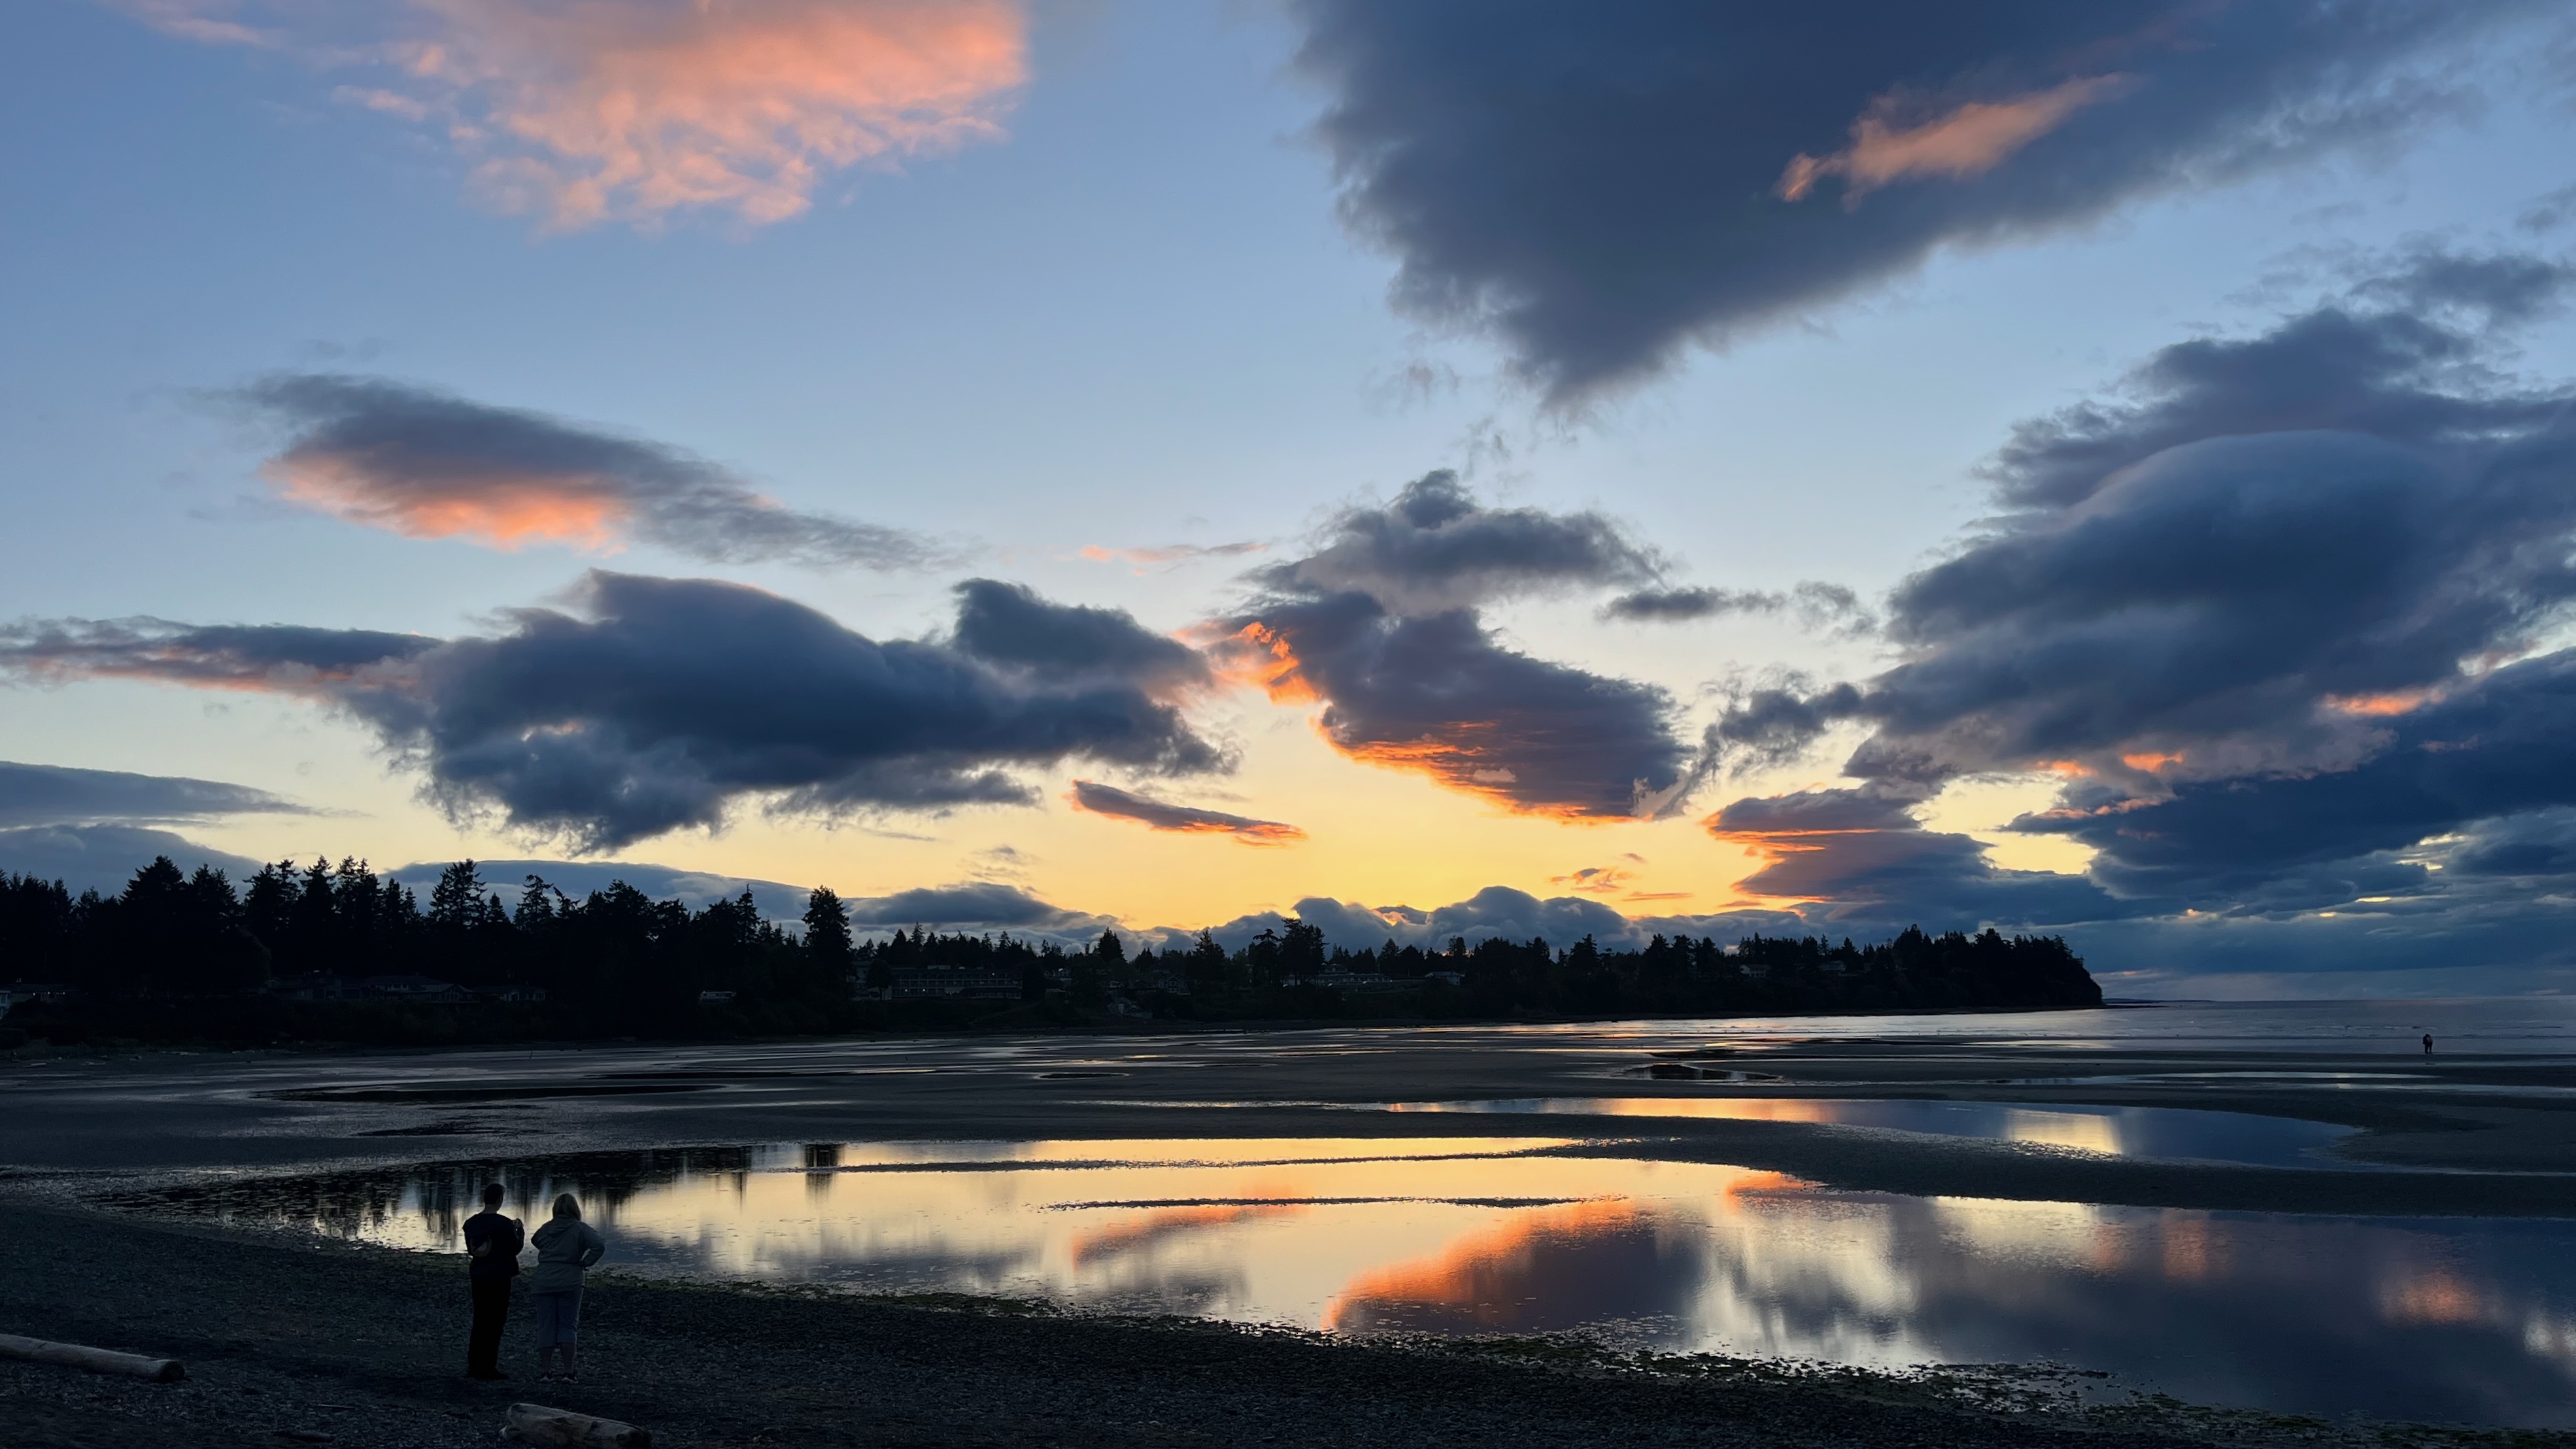
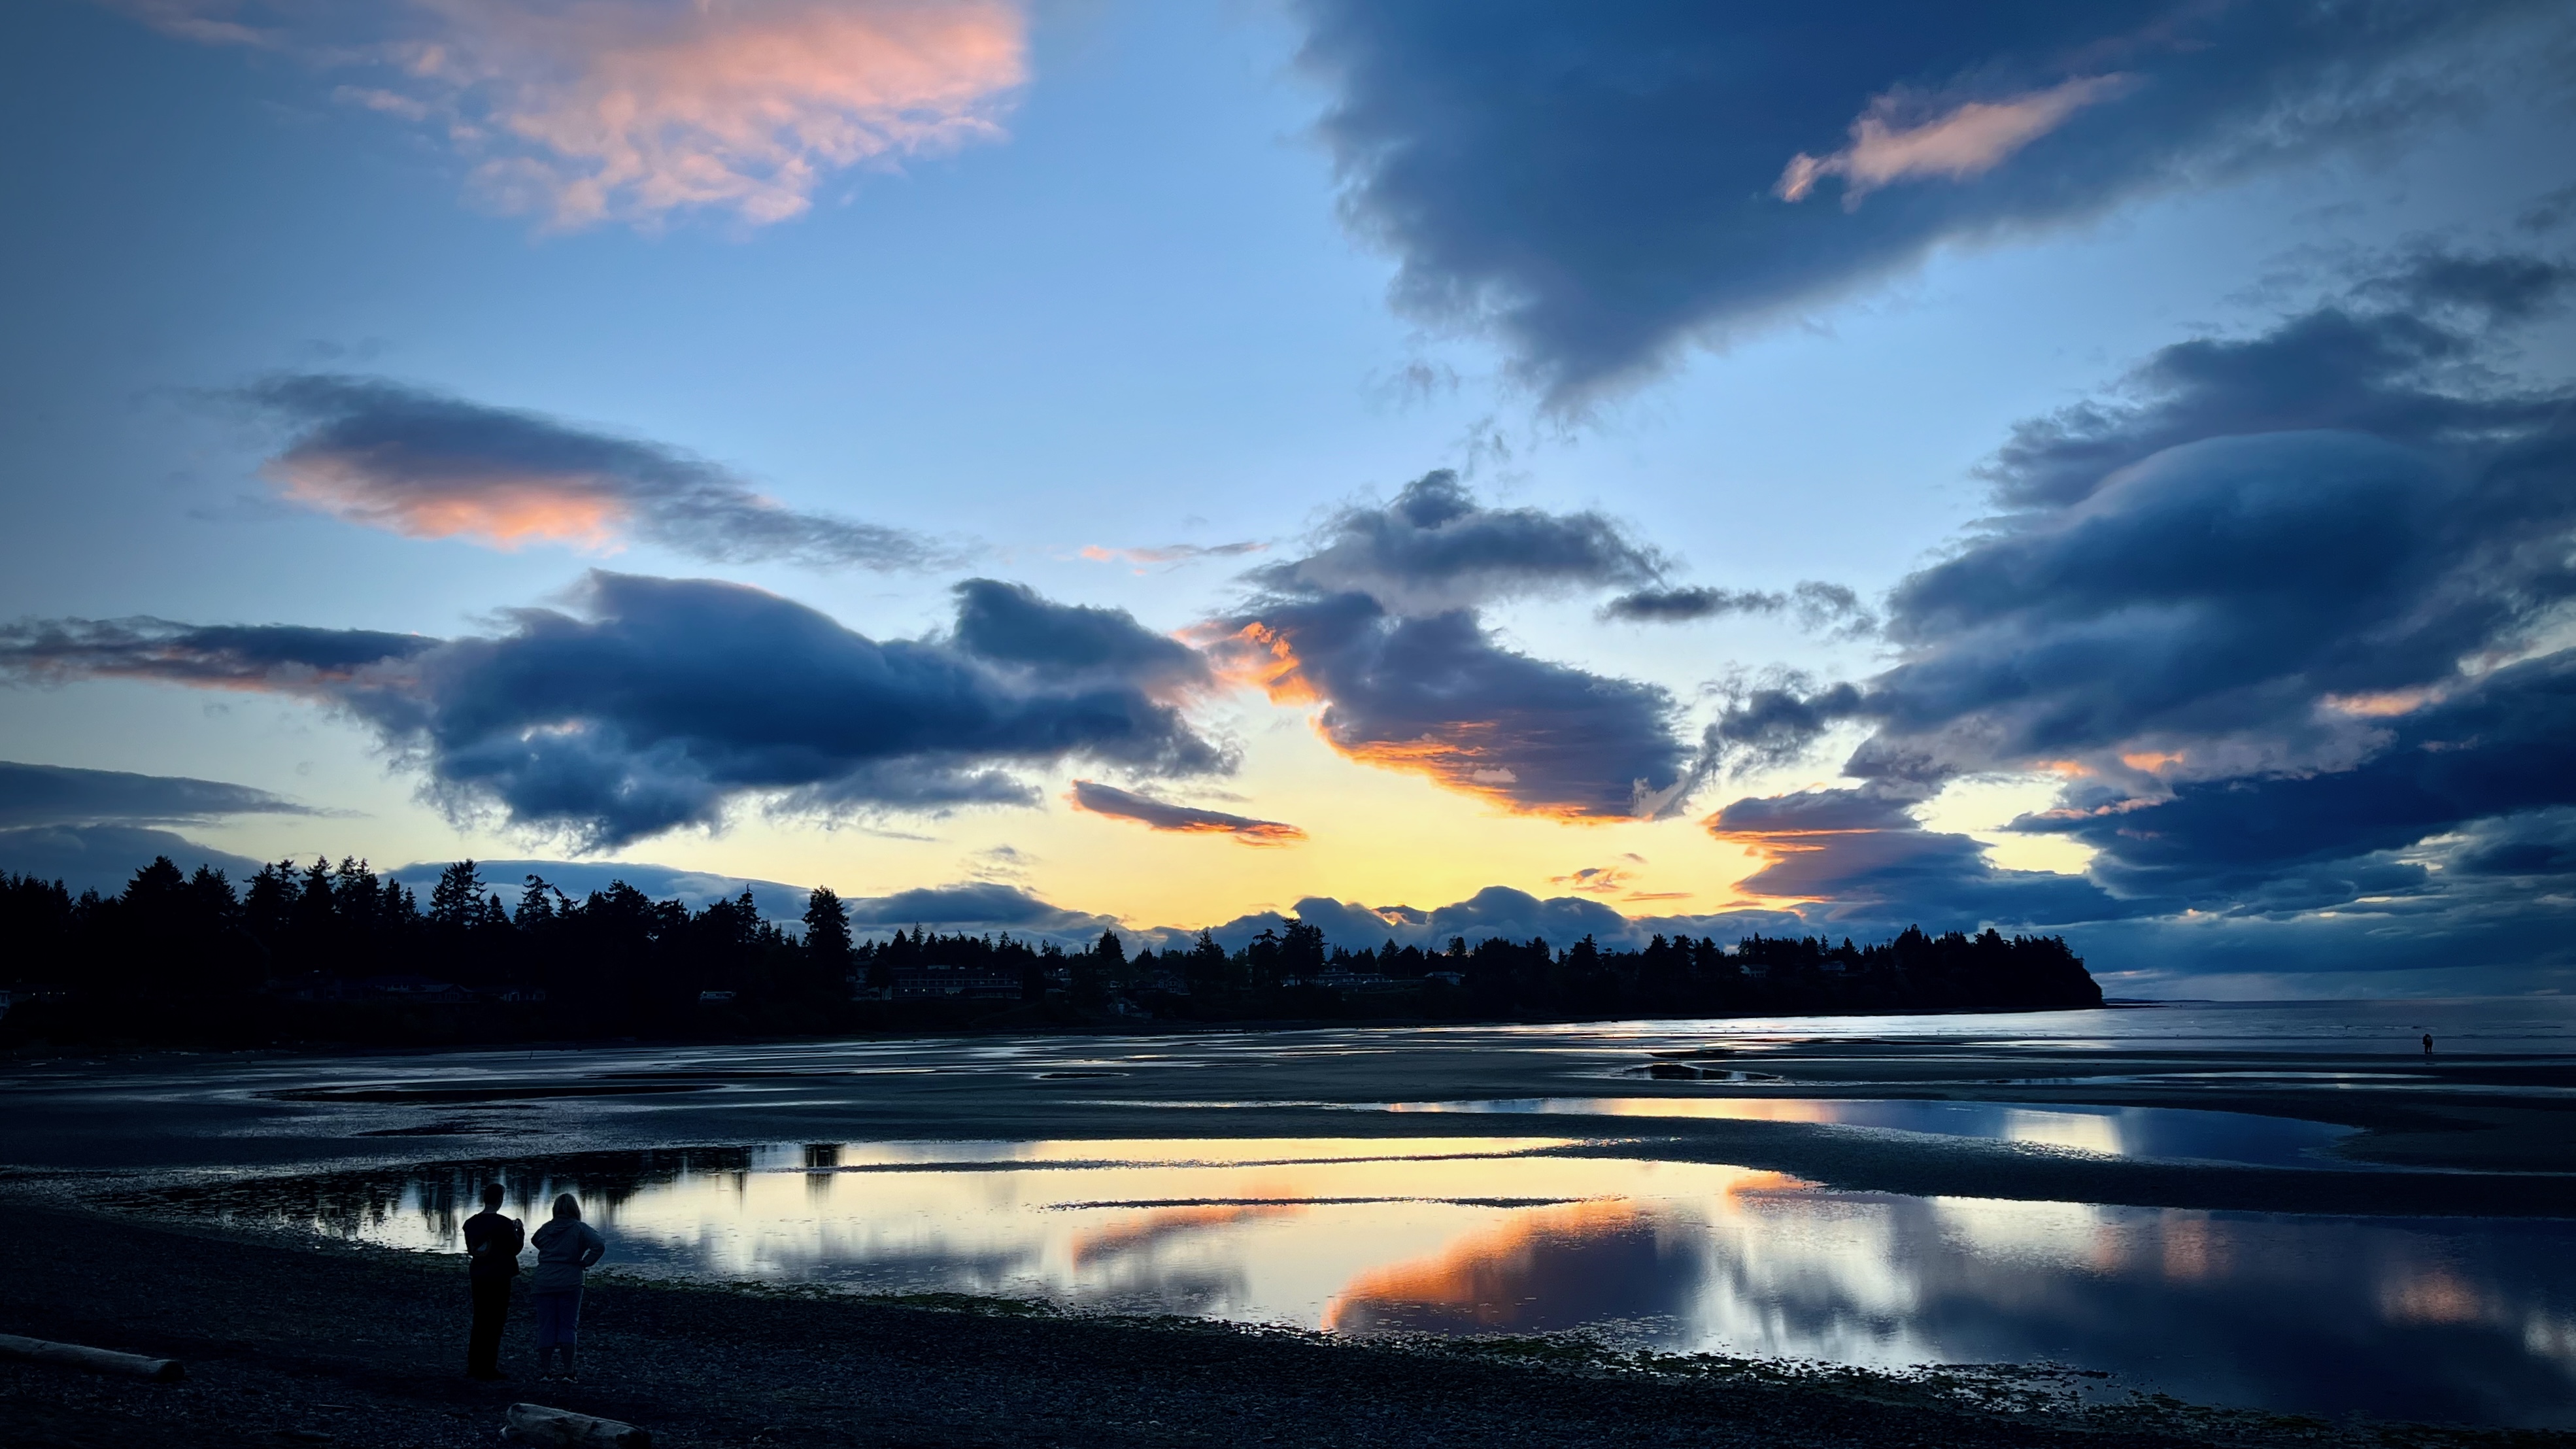
After a couple of months using it as my primary camera, I’m very happy.
My old Sony point and shoot hasn’t been out of the box.
Max is the larger size, longer battery life.
17 Pro Max will now be my main camera.
My old 16 Pro will have the mobile plan, audio books, podcasts, navigation apps, and everything else. The 16 Pro replaces my dying iPhone SE Mini.
I was convinced to go 17 Pro rather than the cheaper, similar 16 Pro because of this Tyler Stalman review. One of the gurus, Tyler is from Calgary.
Click PLAY or watch it on YouTube. The improved selfie camera in the 17 is the biggest upgrade from the 16.
I went with the Flolab Surtect iPhone 17 Pro Max case based on this review.
I’ll be changing my workflow, as well, with this camera following Tyler Stalman’s advice.